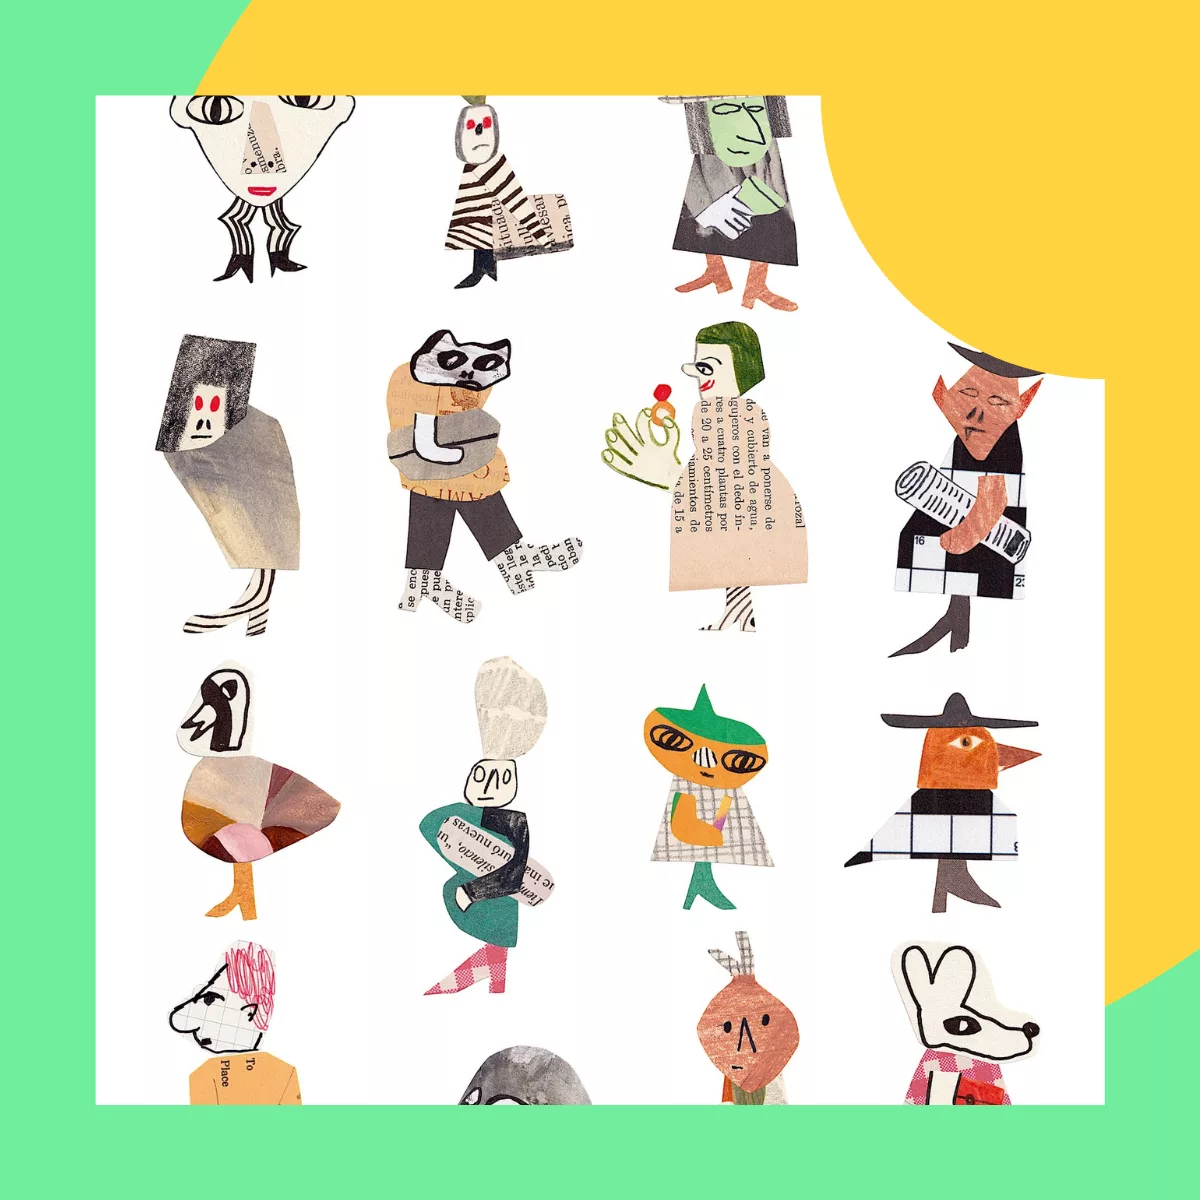
Join Zealous
Join the place that creators come back to
No matter how powerful your work is in person, a poor quality photograph can undermine your chances of being shortlisted before your application has even been properly considered.
Preparing your artwork for digitisation doesn’t have to be complicated, but it does require some care and attention. Whether you’re photographing a large canvas, scanning a delicate print, or capturing the texture of a three-dimensional piece, getting it right can make a real difference to how your work is received.
This guide walks you through everything you need to know to produce clear, accurate, and professional digital images, giving your work the best possible chance of making an impact.
What is digitisation and why it matters
Digitisation is simply the process where you record your work so it can be seen digitally. This could be by taking a photo, scanning it, or taking a video, for example.
In most application processes, a digitised version of your work will make the first impression. So how you capture it really helps to make sure it is received in the correct way. Are the colours showing as vibrant as you painted them? Can you see all sides of your sculpture? Does the photo do justice to the texture you created?
Before you start
Before you even pick up a camera or switch on a scanner, a little preparation can save you a lot of time and ensure your images are the best they can be.
Cleaning and preparing the physical artwork
Take a close look at your work before you begin. Dust, fingerprints, and smudges that are barely noticeable in person can become distracting in a photograph. Gently clean the surface of your work where appropriate, and if it is framed behind glass, consider removing it before photographing to avoid reflections. Make sure your work is fully dry if it is a recent piece, and that it is hanging straight or lying flat before you begin.
Choosing the right equipment
The two most common options for digitising artwork are a digital camera and a flatbed scanner. For smaller, flat works such as drawings, prints, or paintings up to A2, a good quality flatbed scanner will often produce the most accurate and consistent results. For larger works, or pieces with texture and depth, a digital camera is the better choice. A modern smartphone camera can produce good results in the right conditions, but a DSLR or mirrorless camera will give you greater control over quality and detail.
Understanding resolution requirements (DPI)
DPI stands for dots per inch and refers to the level of detail in your image. Most open calls and artist prizes will specify a minimum DPI for submissions, commonly 300 DPI for print quality images. It is worth understanding what this means for your file before you submit, as an image that looks fine on screen may not meet the required standard. Always aim to capture at the highest resolution your equipment allows and reduce the size afterwards if needed, rather than trying to increase the resolution of a low quality image.
Checking the specific technical requirements of the opportunity
Before you begin, read the submission guidelines carefully. Different opportunities have different requirements around file format, file size, image dimensions, and resolution. Some may ask for JPEG files under a certain size, while others may accept TIFF files for higher quality reproduction. Taking five minutes to check these details before you start could save you from having to reshoot or reformat your images at the last minute.
Monthly Insights
Creative insights straight in your inbox
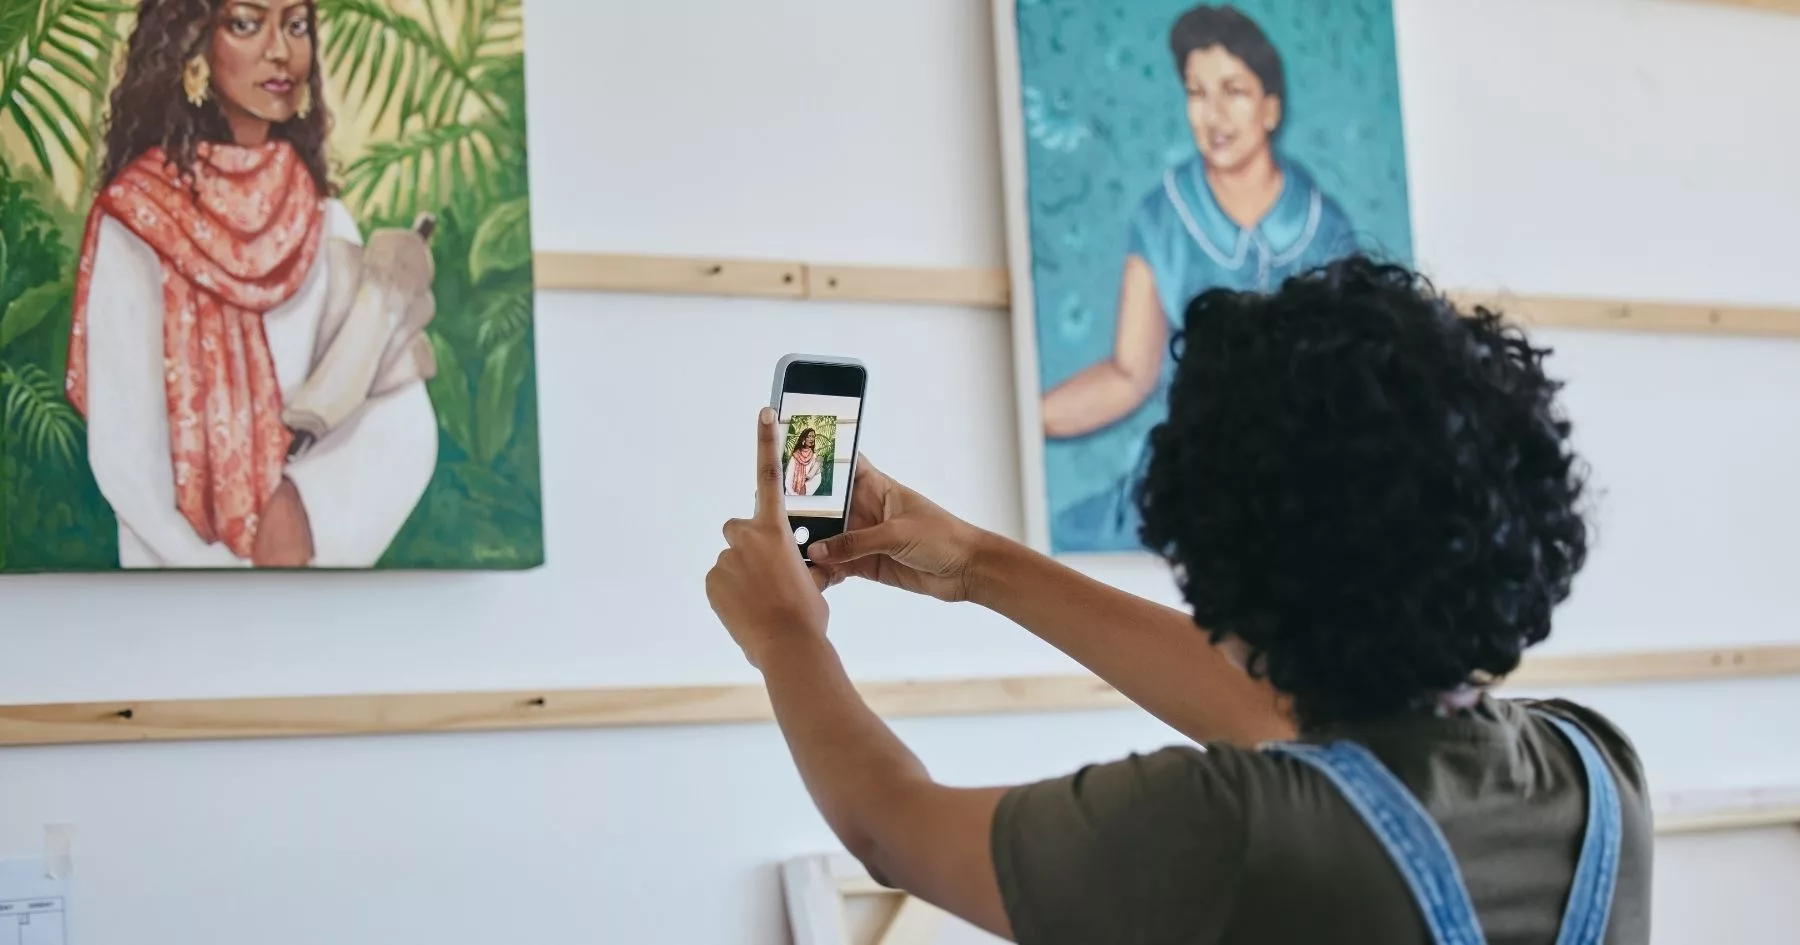
Capturing your artwork
Taking the time to set up your shot carefully before you begin will make a significant difference to the quality of your final images. Rushing this stage is one of the most common mistakes artists make, and it often means having to start over.
Lighting
Good lighting is the single most important factor in producing accurate, professional images of your work. Natural daylight on a bright but overcast day is ideal, as the clouds act as a natural diffuser and produce soft, even light with no harsh shadows. If you are shooting in natural light, position your work facing the light source and avoid placing it in direct sunlight, which can bleach colours and create unwanted reflections.
If you are using artificial lighting, the key is to ensure the light falls evenly across the surface of your work. Position two light sources at equal angles on either side of your work, ideally at around 45 degrees, to minimise shadows and reduce glare. Avoid mixing different types of light, for example using one window and one lamp, as this can cause uneven colour casts that are difficult to correct in editing.
Camera settings
If you are using a camera with manual settings, a few adjustments can make a noticeable difference to the quality of your images. Set your ISO as low as possible, typically 100 or 200, to reduce grain. Use a mid range aperture such as f/8 to ensure the entire surface of your work is sharp. Most importantly, set your white balance to match your light source rather than leaving it on automatic, as this will help ensure the colours in your image are as accurate as possible.
Keeping the camera parallel to your work
One of the most common issues when photographing artwork is distortion caused by the camera being at an angle to the work. Even a slight tilt can cause the edges of your work to appear uneven or the image to look skewed. Wherever possible, position your work flat on the floor or hang it on a wall and ensure your camera is directly in front of it at the same height as the centre of the piece. Use the grid feature on your camera or phone screen to help you align the shot.
Using a tripod
A tripod is one of the most useful tools you can have when photographing artwork. It keeps your camera completely still, eliminates blur caused by camera shake, and allows you to take multiple shots from exactly the same position. This is particularly useful if you are photographing a series of works and need consistency across your images. If you don’t have a tripod, prop your camera on a stable surface and use the self timer function to avoid any movement when pressing the shutter.
Photographing 3D or textured work
Three dimensional and heavily textured work presents particular challenges when it comes to digitisation. Unlike flat work, these pieces have depth and surface variation that needs to be conveyed in the image. Experiment with the angle and direction of your lighting to bring out the texture and form of the piece, as light coming from one side can help create shadow and depth. It is also worth taking multiple shots from different angles to give selectors and judges a fuller sense of the work. Check the submission guidelines to see how many images you are permitted to submit, and use these to show the work as a whole as well as any significant details.
File quality and formats
Once you have captured your images, it is important to make sure you are saving and exporting them in the right format and at the right quality. Getting this wrong at the final stage can undo all the careful work you have put in during the shooting process.
Common file formats
The three most common image file formats you are likely to encounter when submitting to artist prizes and open calls are JPEG, TIFF, and PNG.
JPEG is the most widely accepted format for submissions and produces a relatively small file size, making it easy to upload and share. It does this by compressing the image data, which means some quality is lost in the process. For most submission purposes a high quality JPEG will be more than sufficient.
TIFF files are much larger than JPEGs but retain all of the original image data without any compression. They are often preferred for archival purposes or where the highest possible quality is required. Some opportunities will specifically request TIFF files, so it is worth knowing how to export in this format.
PNG files are less commonly used for photographic artwork but can be useful for work that includes text, graphic elements, or areas of flat colour, as they handle these particularly well without the compression artefacts that can affect JPEGs.
File size and resolution
It can be tempting to submit the largest, highest resolution file you have, but most opportunities will specify a maximum file size and it is important to stay within these limits. As a general rule, aim to export your images at the highest quality that falls within the stated requirements. If no specific guidance is given, a JPEG exported at high quality and a minimum of 300 DPI is a safe standard to work to.
Colour accuracy
Colour accuracy is one of the most important and most frequently overlooked aspects of digitising artwork. What looks correct on your screen may appear very different on another device, particularly if your monitor is not calibrated. If colour is a significant element of your work, it is worth taking the time to check your images on more than one screen before submitting.
Want more articles like this?
Give this one a like
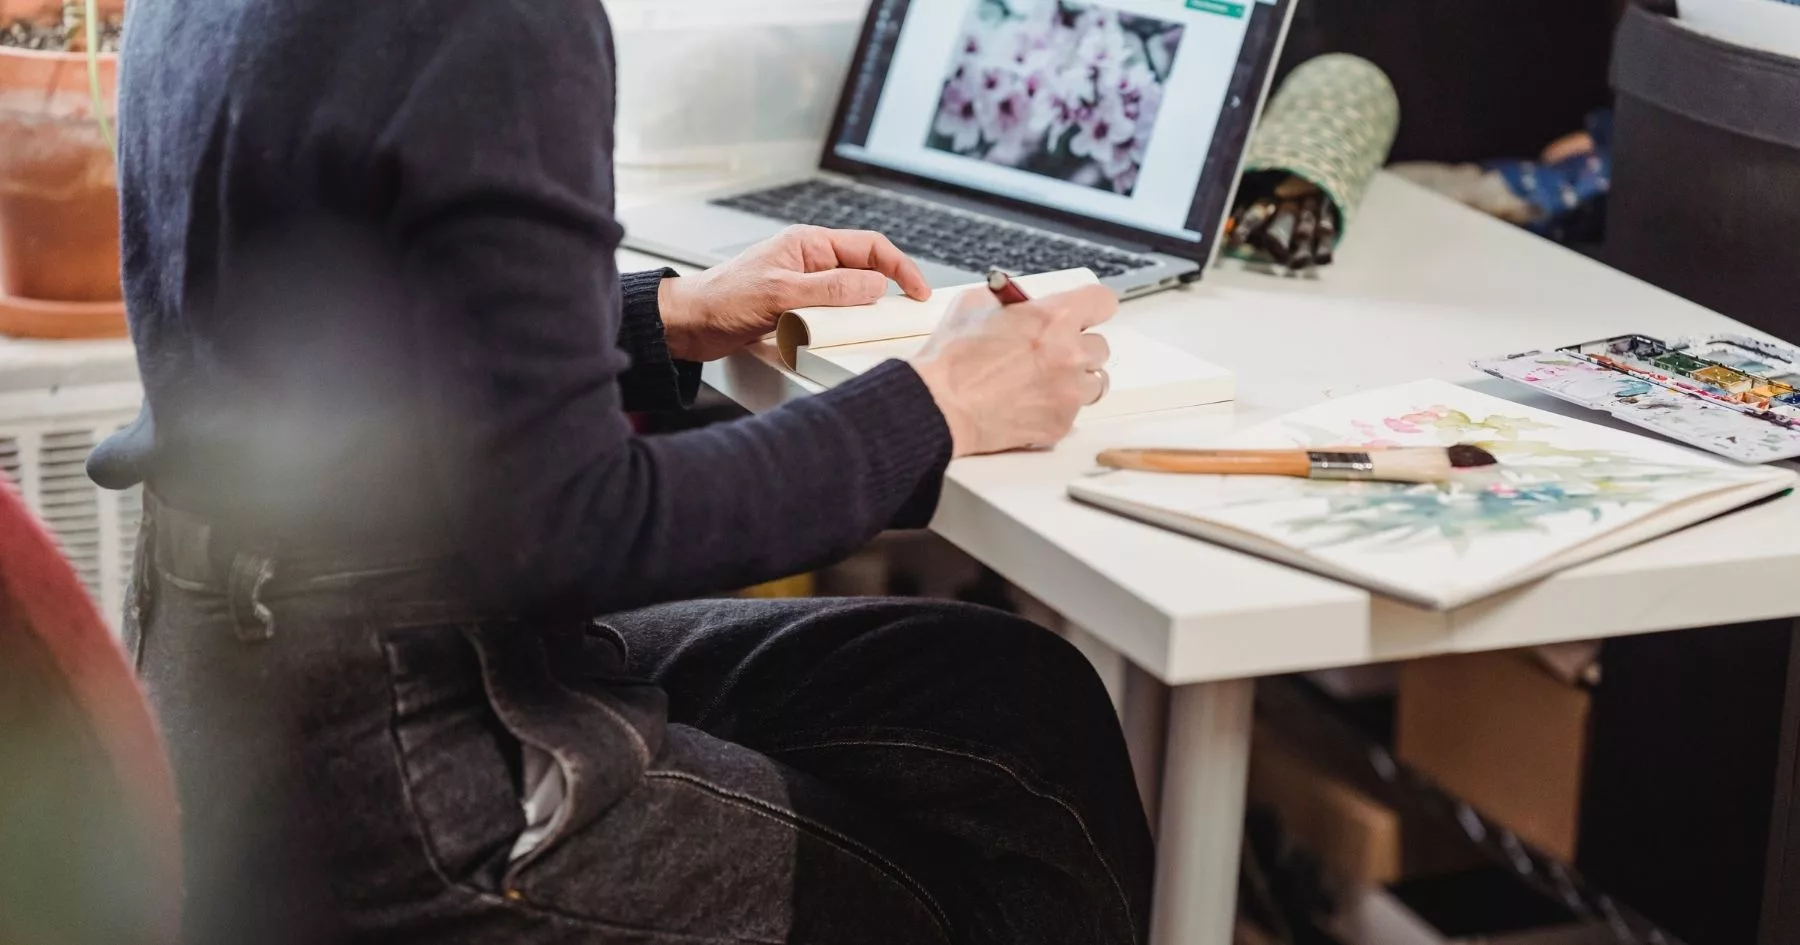
Editing your images
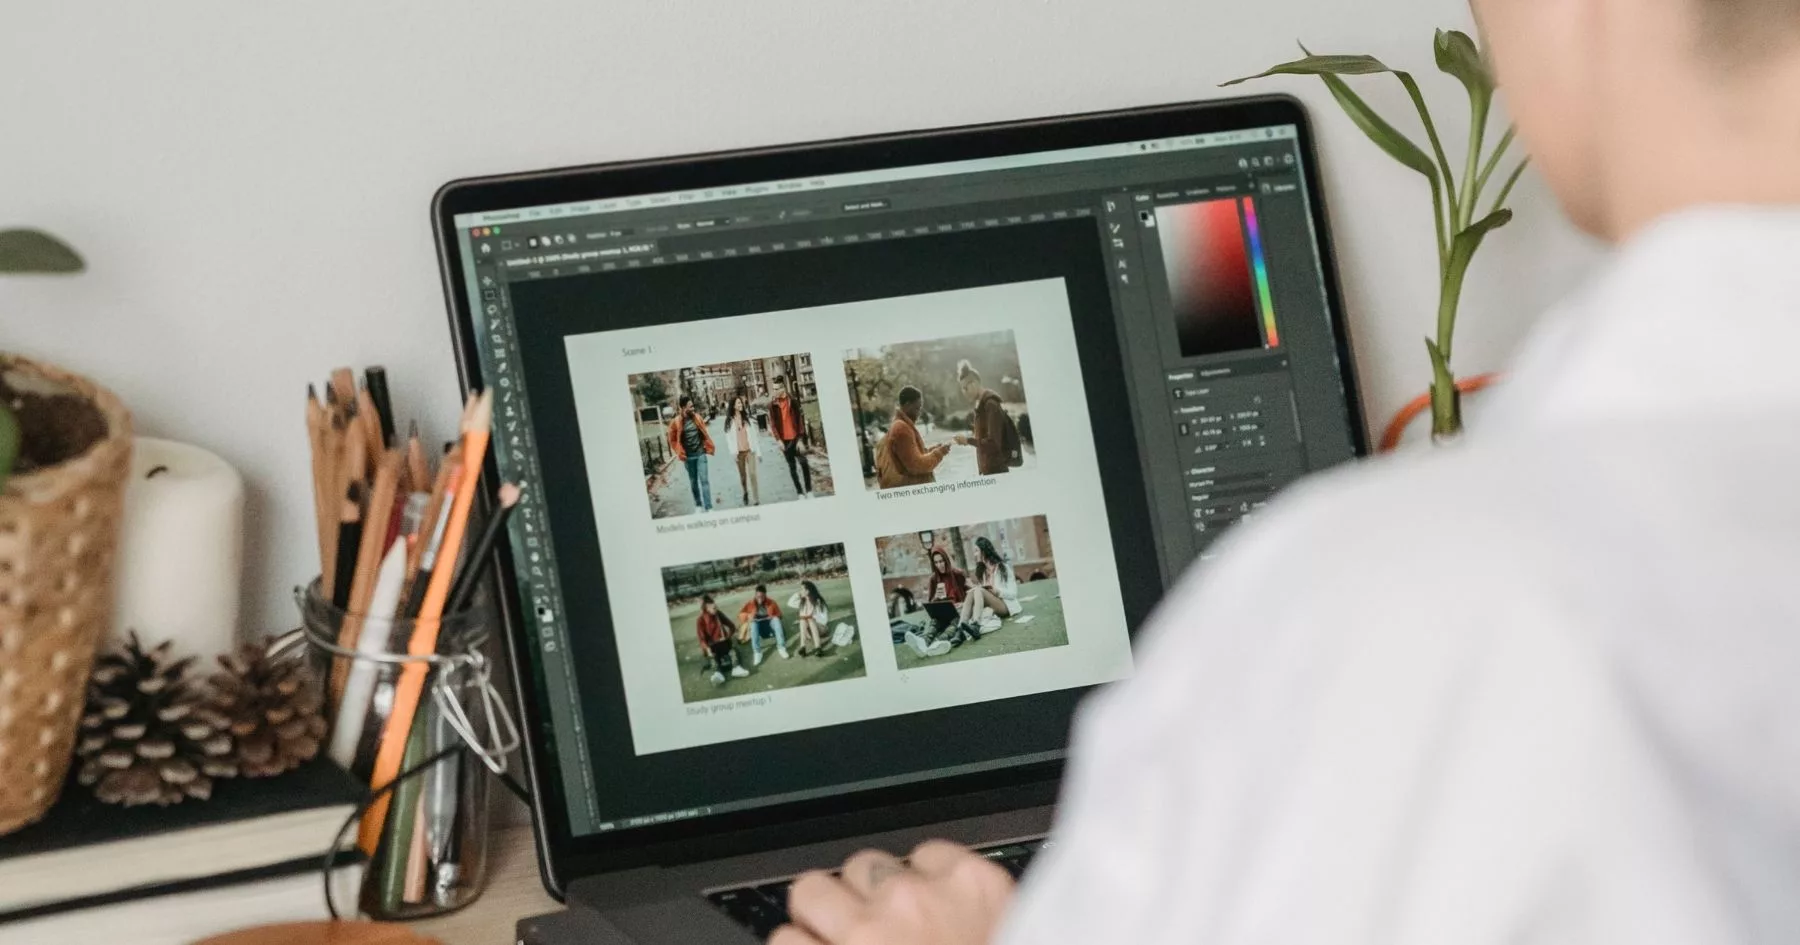
Even a well photographed image will often benefit from some basic editing before it is ready to submit. The goal at this stage is not to alter or enhance your work but to ensure the digital image is as accurate and true to the original as possible.
Basic adjustments
The most common adjustments you are likely to need are brightness, contrast, and colour correction. If your image looks slightly dark or flat, a small increase in brightness and contrast can help bring it closer to how the work appears in person. Colour correction is particularly important if your image has a warm or cool cast caused by your light source. Most editing programmes have an automatic correction function that can help with this, but it is always worth checking the result against the original work to make sure it looks accurate.
Cropping and straightening
Once you are happy with the colour and tone of your image, crop it so that the edges of your work align neatly with the edges of the frame. Avoid leaving large amounts of background visible around the work unless the submission guidelines specifically ask for this. Use the straighten tool if the work appears even slightly tilted, as this can look unprofessional in a submission context.
When to leave it alone
It is easy to over edit, particularly if you are working on a screen that is not accurately calibrated. If you find yourself making repeated adjustments and losing confidence in the result, step away and return to it with fresh eyes. As a general rule, if your editing is doing its job correctly it should be difficult to tell that any adjustments have been made at all.
Recommended tools
Adobe Lightroom and Photoshop are the industry standard tools for image editing and offer a high level of control over the final result. If you do not have access to these, there are several excellent free alternatives available. GIMP offers many of the same features as Photoshop and is completely free to download. Photopea is a free browser based option that requires no download and works on any device. For straightforward adjustments, the built in editing tools on both Mac and Windows are often sufficient and should not be overlooked.
Documenting on a budget
Professional photography equipment can be expensive, but producing high quality digital images of your work doesn’t have to be. With a little knowledge and some careful preparation, it is entirely possible to achieve great results without spending a lot of money.
Using your smartphone
Modern smartphones are capable of producing excellent images, and for many applications they are more than up to the task. The key is not the equipment itself but how you use it. Make sure your lens is clean, use the rear camera rather than the front, and avoid using digital zoom. If your phone has a portrait or pro mode, experiment with these settings to give you more control over the final image.
Lighting on a budget
Good lighting makes more difference than almost any other factor. You don’t need expensive studio lights to achieve even, consistent results. Natural daylight on an overcast day is one of the best light sources available, as it is soft and diffused. Position your work near a large window and avoid direct sunlight, which can create harsh shadows and cause colours to appear washed out. If you need to shoot indoors without natural light, two matching daylight bulbs placed at equal distances on either side of your work can replicate the effect of a basic studio setup at a fraction of the cost.
Free and low cost editing software
Once you have captured your images, there are plenty of free tools available to help you make basic adjustments. GIMP is a free and powerful image editing programme that can handle most of what you need. Photopea is a free browser based alternative that works similarly to Photoshop. For straightforward colour correction and cropping, even the basic editing tools built into your phone or computer may be sufficient.
Scanning as an affordable alternative
If your work is small enough, a flatbed scanner can be a cost effective alternative to photography. Many libraries and print shops offer scanning services at a reasonable price, and some arts organisations and makerspaces have equipment available for members to use. It is worth checking what is available in your local area before investing in equipment of your own.
Preparing Files for Submission
With your images captured and edited, the final step is to make sure your files are properly prepared and ready to submit. This stage is often rushed, but taking a few extra minutes here can help you make a professional impression and avoid any last minute problems.
Naming your files
How you name your image files matters more than you might think. A file called IMG_4823.jpg tells a selector nothing about the work, whereas a clearly named file such as FirstnameLastname_TitleofWork_2024.jpg is immediately identifiable and easy to manage. Check whether the submission guidelines specify a particular naming convention and follow it exactly. If no guidance is given, use your name, the title of the work, and the year as a minimum. Avoid using spaces in file names and use underscores or hyphens to separate words instead.
Cropping and framing conventions
As a general rule, your image should show the artwork and nothing else. Crop tightly to the edges of the work and remove any background, wall, or surrounding objects from the frame. The exception to this is where the submission guidelines ask for context shots or where the setting of the work is an integral part of the piece itself. If you are submitting images of installation work or site specific pieces, a combination of full shots and detail images will help give selectors a complete picture of the work.
What to avoid
There are a few common mistakes that can undermine an otherwise strong submission. Avoid placing watermarks over your images, as these can be distracting and may not be permitted by the opportunity. Do not include borders or decorative frames around your images unless specifically requested. If your work includes your signature, consider whether it is visible in the shot and whether this could compromise your application if the selection process is anonymous. Some opportunities ask submitters to ensure their work cannot be identified during judging, so it is worth checking the guidelines on this point.
File formats and compression
Before you export your final files, double check the format and quality settings against the submission requirements one last time. If the opportunity asks for JPEGs, make sure you are not accidentally submitting PNG or TIFF files. Export at the highest quality setting that falls within any stated file size limits, and avoid resaving a JPEG multiple times as this can reduce the quality of the image each time.
Want us to write more content like this? Give it a like
Share