Defining what candidates submit
This article will focus on how to customise what will be submitted by the candidate in the Submission Process, including:
- Specifying what you want you want applicants to submit
- Removing fields
- Making fields mandatory or optional
- Changing the hint text in the fields
To edit your submission form:
- Log in to your account
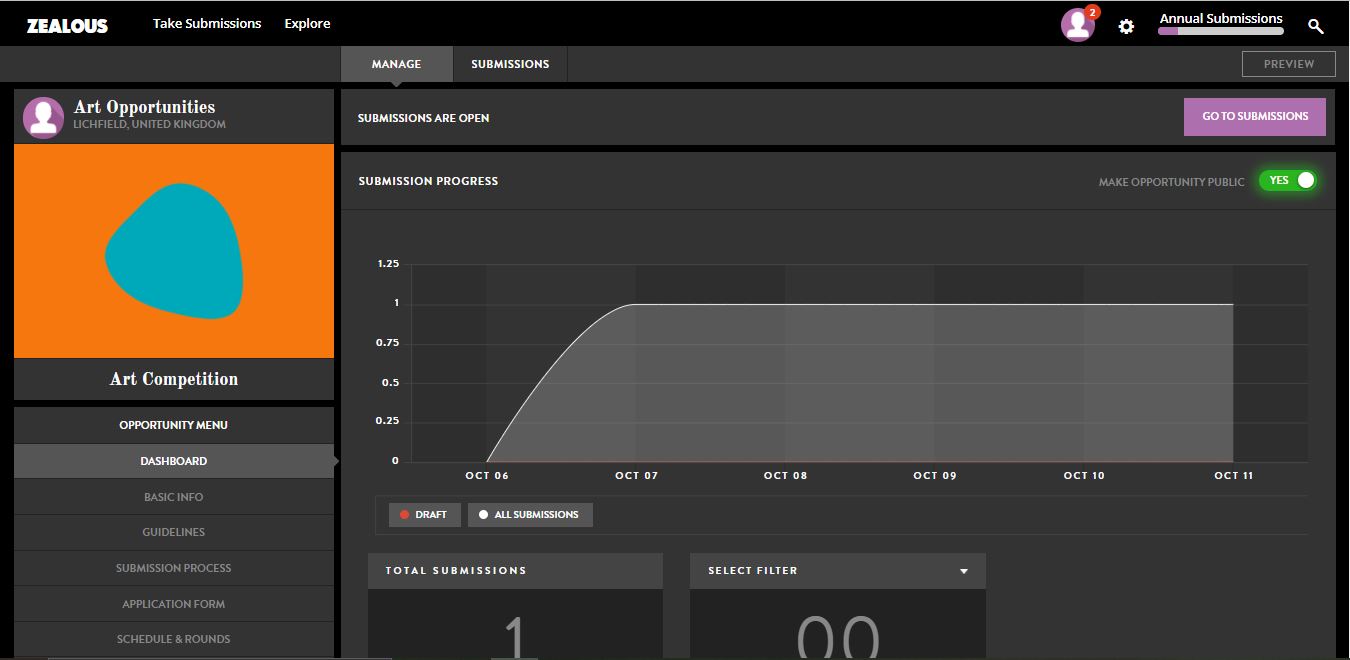
- Go to the dashboard for the opportunity you would like to edit
- On the left hand side, press ‘Submission Process’

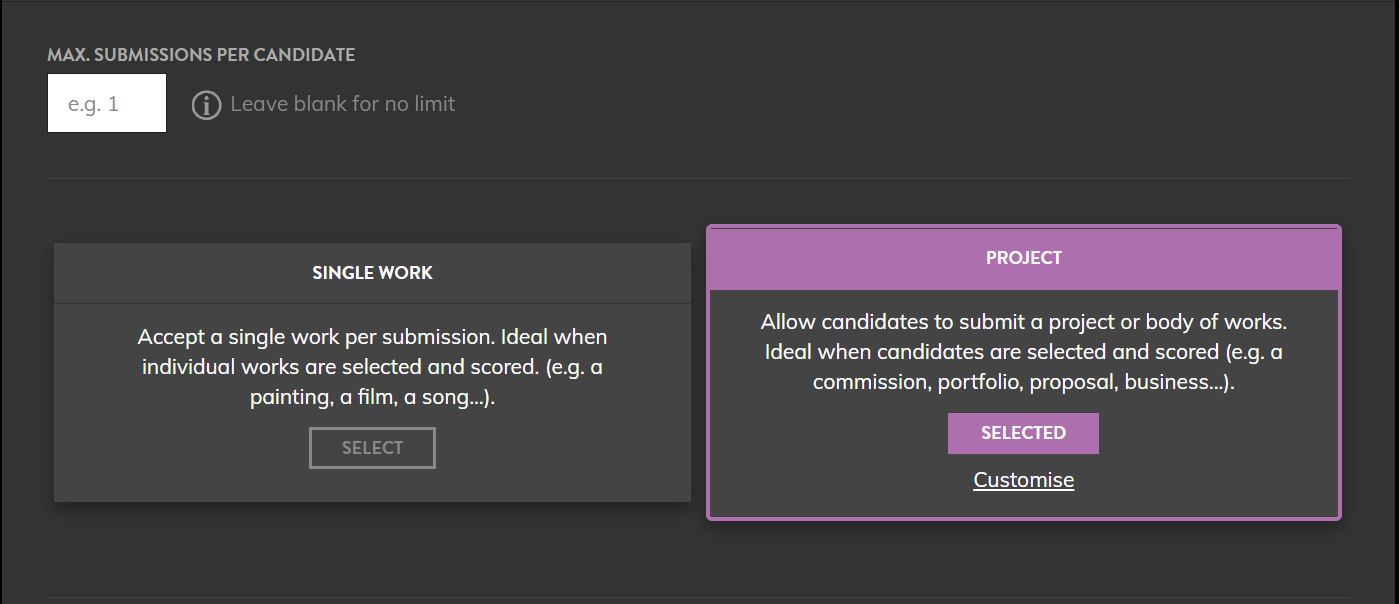
As well as choosing the maximum amount of submissions an applicant can submit, you can also select between two options
- Single Work – this is best for accepting a single work when you want to score and select individual works
- Project – this is best for accepting a project or body of work when you want to score and select a candidate
Once you have chose which option you want, you could customise it further.
The Project Details Section includes all fields in the top section of the submission, and you are able to:
- Disable fields you do not want included
- Choose which fields you want to be mandatory or optional
- Change the hint text, which helps to show applicants what you want
The Project Title will be the umbrella title for their submission and appear in the Entries Overview (Preview) view. If a Project Title is not requested, the Submission ID number will appear instead.
Having a Project Titles are useful:
1. Easier to read and identify a Project Title rather than an ID number, visually.
2. When the assessment committee is discussing specific entries, the project title is easier to communicate about rather than an ID number

The Works Section represents the elements that can be added to the submission, and you are able to:
- Decide whether applicants can upload files, embed media and add text
- Restrict the types of files applicants can submit, such as mp3 and pdf
- Choose the minimum and maximum amounts of items a user can add – this includes files, media links and text boxes
If they ONLY upload a PDF in the Submissions Process a preview image will NOT show up in the Preview/Entries overview page. If they upload a JPEG and PDF, the platform will pick up the first applicable file type and bring that to the Entries overview/Preview page.

The Item Details Section includes all information that can be added to items that are uploaded to your submission. These fields belong to an uploaded item and will only show once an element is uploaded. Here you can:
- Disable fields you do not want included
- Choose which fields you want to be mandatory or optional
- Change the hint text, which helps to show applicants what you want
Finally, the Confirmation Box Section, allows you to add text to remind candidates what you are expecting from them in the submission. This will then be shown in two places in the submission. It will first be shown at the top so applicants know what to submit. They will also be required to check all the required ones at the bottom to continue their entry.

Once you have made your changes, you can preview them. To do this, you can click the preview button at the top right of the page.

